Decorating your home with decorative paint effects – Marbled imitation finish
Introduction
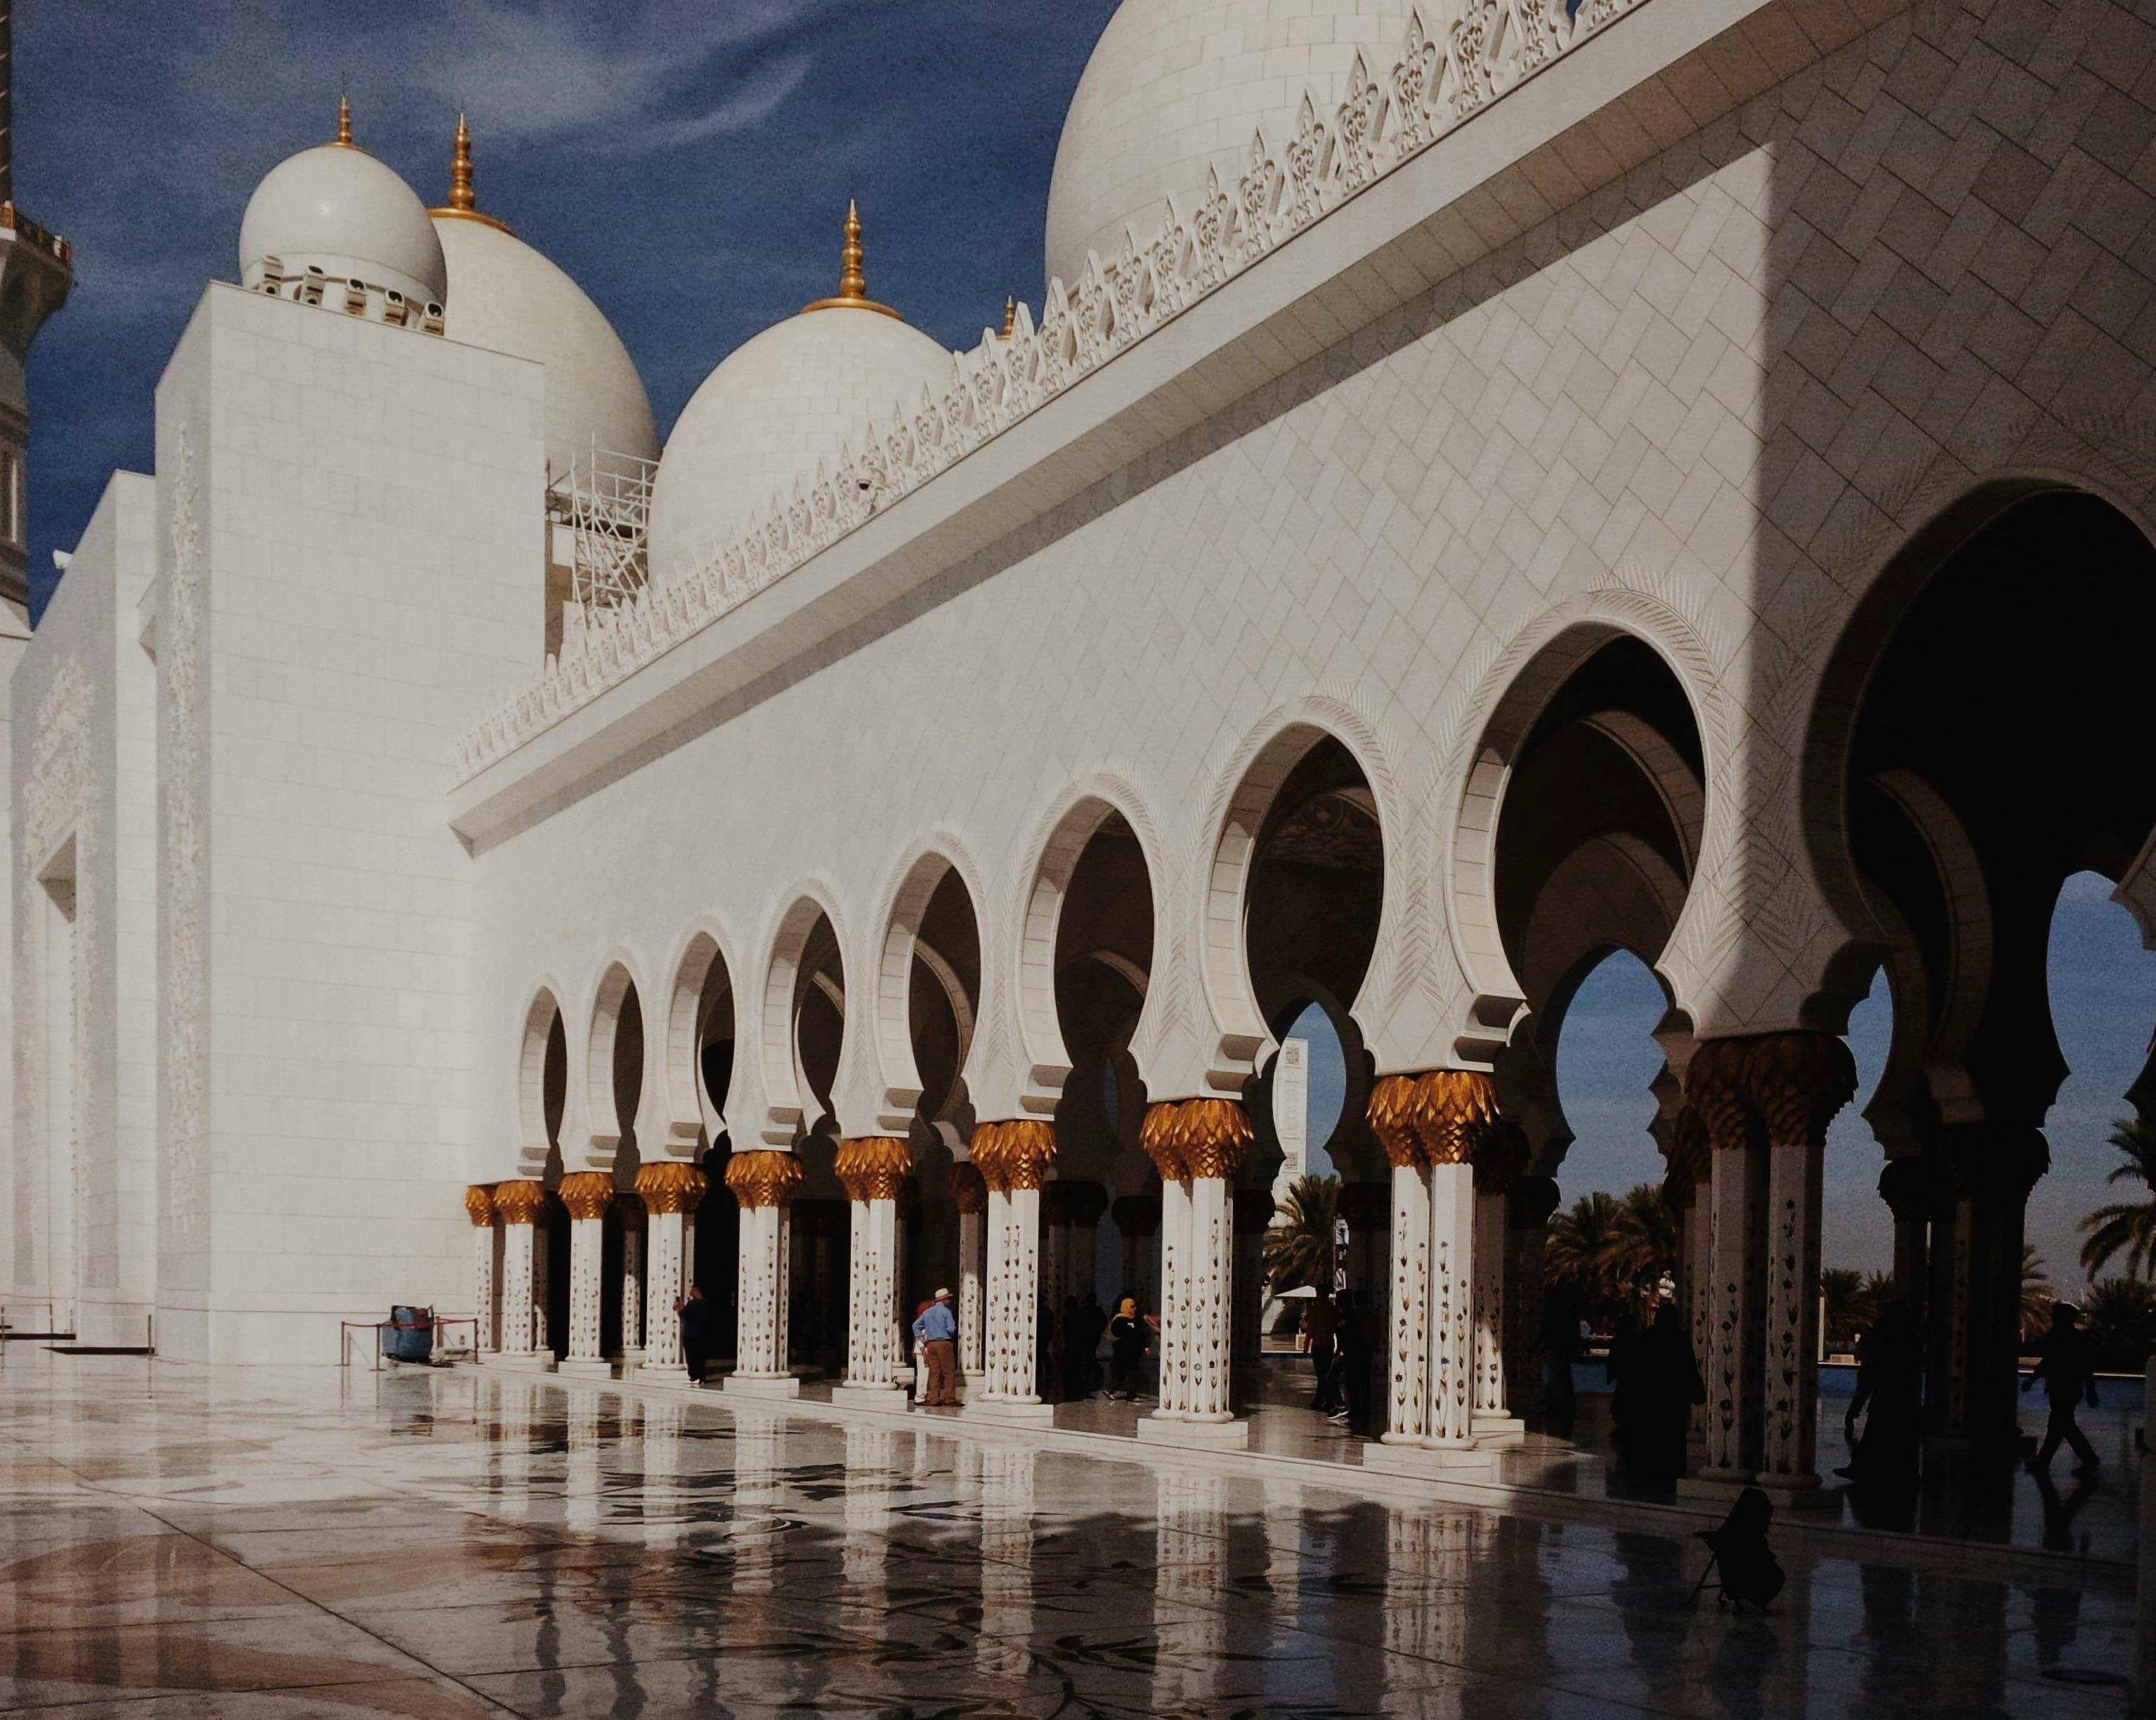
The marbling effect is a faux finish decorative paint effect applied with oil based paint and enamel. It has been used throughout history to give an illusion of marble stone. The use of this painting technique was (and is) driven by cost and practicality: marble stone is expensive and also heavy and difficult to transport. In many cases, it is more practical to create an illusion of marbled stone than to use the stone itself. The marbling technique also became popular with builders and architects who used it as a substitute for real marble when load-bearing walls and beams were required; had they been made of marble stone, they would have had inadequate load-bearing characteristics.
In nature, marble is formed by applying heat and pressure to limestone. which causes crystallization in many colors. The minerals and impurities that run through the molten rock create vein-like structures that give marble its beauty. As a result of the forming process, the marble has a translucent, cloud-like appearance, which plays many tricks with light.
There are many examples of use of the marbling technique throughout history; it was used by the Egyptians, and there are thought to be even older examples of the technique’s use during the Mycenaean period.
Marbling became very popular in Europe during the Renaissance era. Real stone was readily available, but fashion, cost, and practicality dictated the use of the faux marble finish. It was during this period that variations on the marbling technique appeared; French artisans adhered to the process of reproducing natural stone, but in Italy artisans began to produce marble effects that were not true to nature but more highly decorative. This finish, the so-called fantasy marble, was taken up in other countries, especially Scandinavia, and still continues today.
Today, marbled paint effects are still very popular and are in high demand by decorative artists. Although creating the faux-finish marble effect requires skill, those interested in this beautiful effect can create it themselves, with time and patience.
Creating a marbled effect in your home.
The first thing to consider is where to apply the marble finish. Marble finishes look good in places where natural stone would normally be used: columns, pillars, and fireplaces. Historically, marble paint effects have also been used on wall panels and as borders on murals, pictures and mirrors. It is also possible to marble plaster decorations and door panels.
Marble entire walls in a house can be overwhelming, unless the space is very large. Attempts to use the applied marbling effect to blend objects like heating radiators into the background often fail. The marbling effect should be used sparingly and with taste to get the most out of the effect of this beautiful faux finish in your home.
The marbled effect is a faux finish applied with oil-based paint and enamel. Here is a marbling technique for white Carrara marble. It is best to practice on a small board first, before tackling the surface you wish to marble.
what will you need
White Oil-Based Basecoat Paint
Oil-Based Scumble Polish
2″ base coat brush
smoothing brush
Fine art brushes in various sizes for painting veins.
Oil colors for artists (black, paynes grey, yellow ochre, white)
White spirit
lamb cloth
Oil-based clear varnish
Surface Preparation
Surfaces should be made as smooth as possible to imitate polished natural stone. Surfaces must be dry.
base layers
Apply a white base coat (do it twice if necessary) and let dry.
Mixture of enamels and paints.
Three mixtures of paint and enamel will be required for this finish. One for the broken color area and two for painting marble veins. For the veining, two mixtures are required that allow painting veins of different colors.
1) Mix a small amount of oil-based glaze with 50% white artist oil paint.
2) Mix a small amount of paynes 50-50 black and gray artists colors and add a small amount of glaze.
3) Mix a small amount of yellow ochre, paynes gray and white spirit in equal amounts. This mixture should be very thin.
Application
It is best to have a picture of a marble surface handy to copy on your first few tries.
The first step is to simulate the translucent shading found in white marble.
Wipe frosting mix 1 onto the base layer with a shearling cloth. Covers the entire area.
Apply Paint Mix 2 over Glaze Mix 1 using crumpled paper or a rag to the areas where you want to apply the marble shading. Smooth (ie blend) these areas using the Smoothing Brush to blend with Glaze Mix 1. Blending should be done carefully so as not to leave hard edges.
The next step is to add the marbling.
Paint in the grain with a fine artist’s brush, blending the broken areas of color with paint mix 2, applying dashed lines that are very fine. Smooth with a dry brush. Copy an existing sample of marble to get your vein ideas.
Using glaze, mix 3 streak paints over the background, blending into the area of broken color. Smooth with a dry brush.
let dry
protective coats
When the marbling effect is completely dry, varnish with an oil-based varnish, apply several coats. This process will give it the natural shine found in real marble.
I hope you found this brief introduction to the marbling effect useful and informative. For those interested in learning more about this beautiful finish, I run one day marbling courses in central London in the UK.


Recent Comments